This is the fourth article in my TTSH Project series! If you missed any, you can find them here.
Ah, life intrudes. Doesn’t yours? Don’t you find your life kind of… intrusive sometimes? Well I suppose if our lives weren’t so intrusive then our hobbies, our ham radio sets, our ships in bottles, our experiments with homemade bitters, wouldn’t be so necessary. But we’re back at it! We’re stuffing the mainboard!
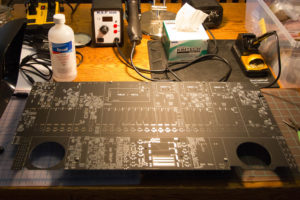
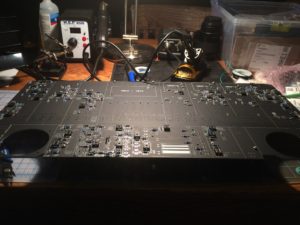
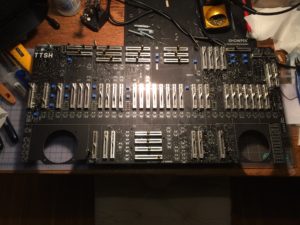
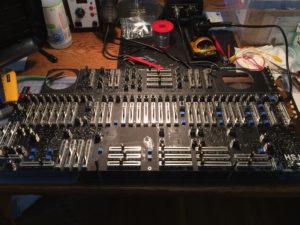
The mainboard is where all the fun happens. Every control you access from the front panel is attached to the mainboard. It also houses all the modules that are not covered by the sub-module boards, and that includes ring modulation, mixer, amplifier, voltage processors and more. A lot of stuff, basically. About 170 resistors, 150 capacitors, and over 300 semiconductors of various types, 58 sliders, 81 jacks – I’m not done yet but you get the picture. Stuffing the mainboard is equal parts engrossing, frustrating and tedious.
A big nerdy jigsaw puzzle
Working on a large board requires some building techniques which were new to me. Soldering components from the top side feels strange and wrong at first. I used a shallow plastic bin to create an index-card style catalogue of parts, separated by component type and ordered by value, but I spent a lot of time holding a component in my hand and scanning the board for tiny part numbers, thinking there must be a more efficient way of finding homes for all those little guys. It’s like a very nerdy 1000-piece jigsaw puzzle.
Once you’re finished soldering things in from the top, you have to flip the board over and trim all the excess leads. This seems like it could be fun until you’re about 30 seconds into it, then it gets old pretty quickly. I briefly considered sampling some of the noises the metal legs make when you brush across them, because it reminded me of one of those Folktek instruments, but I was impatient to get the job over with so didn’t bother. My angle cutters say “wear safety goggles” on them and they’re not kidding. Leads were bouncing off my stereoscopic magnifying headset constantly. I’ll be sweeping those guys up for months.
Wrong again
Washing a board this size also feels strange and wrong. Many experienced builders suggest using distilled water but that just seemed weird – and I didn’t have a suitable receptacle to wash it in anyway. The flux residue is toxic, so you don’t want to dump it into the sink where you do the dishes. I ended up using isopropyl alcohol with a toothbrush, an acid brush, Q-Tips (which leave bits of cotton everywhere, so don’t do that) and Kimwipes, which I found very unsatisfying to use. Mostly I just diluted the flux into a tacky film that I still haven’t managed to eradicate to my satisfaction.
The pots (potentiometers, a.k.a. sliders) are a pretty huge pain in the ass, because you need to make sure they’re aligned with the front panel before you solder them in, which means dropping them into place, putting the front panel on, flipping the whole business over and soldering in one pin on each end of whatever pots didn’t fall out of position while you were doing the flipping, then flipping back, replacing the errant pots and repeating. Once they’re all in there you can go in and finish soldering – six points each in total. But once they’re all in there and the front panel drops on nice and easily, it’s a pretty good feeling. And it’s starting to look like the picture on the box at this point.
Next are the jacks, which we’ll eventually be jamming patch cords into, and a handful of switches. It started to feel pretty close to being done, but of course I also realized I had, after soldering in the pots and jacks, added in again about as much flux as in the previous stages, so I started going at the stuff again a little more aggressively with a toothbrush. That seems to work; I only wish I’d started sooner. But we really are getting close now, and in the next post we’ll actually start making some sounds with it.
Wanna hear it? Read the next instalment.


